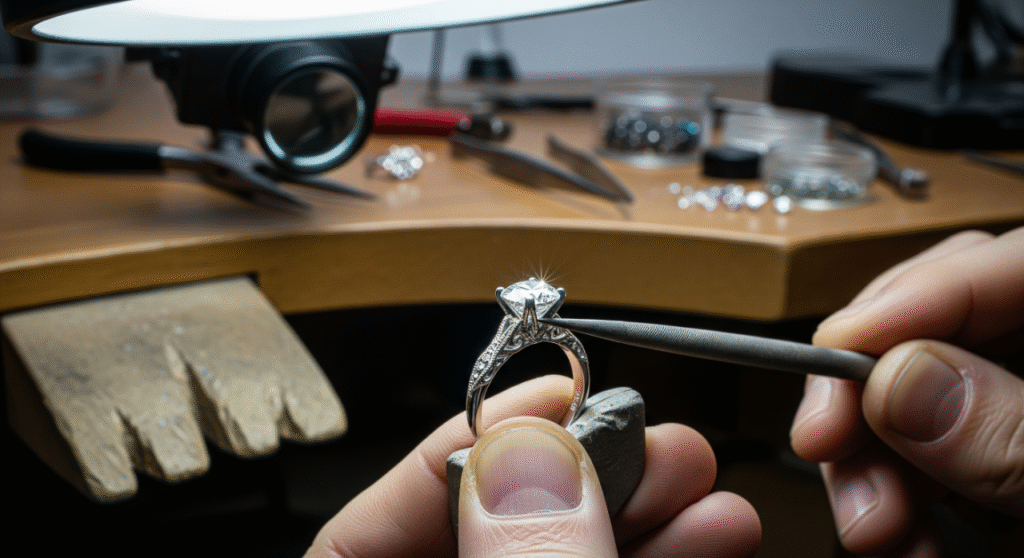
A new tutorial from designer Rena Klingenberg outlines how common hardware-store washers can be converted into flexible, antiqued bracelets by combining heavy-gauge jump rings, patina inks and a toggle clasp. The project, featured on Jewelry Making Journal, details every stage of the process, from surface preparation to final assembly, and emphasizes how minor adjustments allow the finished piece to fit any wrist size.
Project Overview
The guide focuses on M10 × 18 steel washers—components that measure 18 mm in diameter with a 10 mm center hole. By applying two shades of Ranger patina ink (Cinnabar and Verdigris), the metal discs acquire a weathered turquoise appearance that mimics aged copper. After coloring, the washers are linked with 12 mm heavy-gauge jump rings, forming a chain that remains supple when worn.
Required Materials
In addition to the washers, the supply list includes:
- 12 mm heavy-gauge jump rings for connecting washers
- One toggle clasp
- Three 7 mm or 8 mm sturdy jump rings for fastening the toggle bar
- Flat-nose and chain-nose pliers
- Ranger patina inks in Cinnabar and Verdigris
- Cotton swabs for ink application and paper towels for cleanup
- Optional Vintaj glaze for sealing or thinning the inks
Coloring the Washers
Each washer is first coated completely with Cinnabar ink using a cotton swab. Because the inks dry rapidly, a second layer can be applied almost immediately. The Verdigris shade is dabbed on in an irregular pattern, allowing portions of the underlying red tone to remain visible and produce an antiqued effect. Klingenberg notes that the finish can be left unsealed; however, users who prefer additional protection may apply a thin coat of Vintaj glaze once the inks are fully dry.
Creating the Washer Chain
After coloring, two washers are threaded onto an opened 12 mm jump ring. Using flat-nose and chain-nose pliers, the ring is closed, securing the first pair of components. Additional washers are linked in the same manner until the chain reaches the desired length. Because each 12 mm jump ring contributes to the bracelet’s flexibility, the finished piece drapes easily around the wrist.
Adding the Toggle Clasp
Assembly concludes by attaching the clasp. The ring half of the toggle is connected to one end of the bracelet with another 12 mm jump ring. On the opposite end, three smaller jump rings are joined to create a short chain, and the toggle bar is affixed to the final link. This arrangement allows quick fastening while preserving the design’s visual balance.
Size Adjustments
To alter bracelet length, makers can either add or remove washers or insert extra 7 mm or 8 mm jump rings near the toggle bar. Because the washers and large jump rings share similar diameters, the overall pattern remains consistent even when customized.

Imagem: Internet
Optional Protective Finish
While sealing is not mandatory, the manufacturer of the inks recommends a varnish to guard against abrasion. According to Ranger Ink’s product guidelines, a clear coat can enhance longevity without affecting the patina’s matte appearance. Klingenberg states that she completed her sample bracelet without an additional sealant, highlighting the durability of the dry inks under normal wear conditions.
Tool Handling Tips
For readers unfamiliar with jump-ring techniques, the tutorial reminds crafters to twist rather than pull the ring ends apart to maintain circular integrity. Employing one flat-nose and one chain-nose plier allows precise control when opening, linking and closing each ring.
Finished Result
The completed bracelet displays alternating flashes of red and turquoise against the metallic surfaces, giving the impression of a vintage artifact repurposed for contemporary wear. Because the components are readily available and the process requires no specialized equipment, the project is accessible to beginners and experienced jewelry makers alike. The guide stresses that by varying ink colors, substituting different clasp styles or experimenting with washer sizes, users can produce new interpretations while following the same foundational steps.
Crédito da imagem: Jewelry Making Journal

Cassia Freitas holds a degree in Business Administration and a specialization in Fashion Design. She has been working as a jewelry designer since 2012 and is passionate about everything related to style, beauty, and authenticity. As the creator of the blog Sublime Jewels, she shares tips, inspirations, and practical suggestions for those who love fashion, accessories, and want to express their personality with elegance in everyday life.